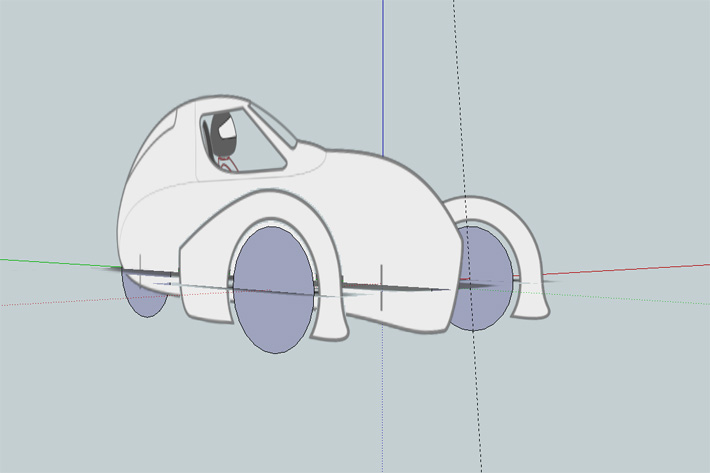
So as things keep moving forward on the proportions and details of this design, I’ve noticed that my three-quarter renderings aren’t as accurate to the profile views I’ve been working from. I am not a CAD pilot. I don’t have the right software or the right experience to model this in 3D for real yet. That’ll probably happen before I’m done, but what I did want to see is what this design might look like from different angles. So what I did was take some advice from Twitter and pull my profile views into Google SketchUp. Now while Greg (on twitter) was suggesting I model the whole thing in SketchUp, it won’t give me the kind of results I want for the sheer amount of time I have to put into it. All I wanted was better perspective renderings I could use in Illustrator. This was this was the result:
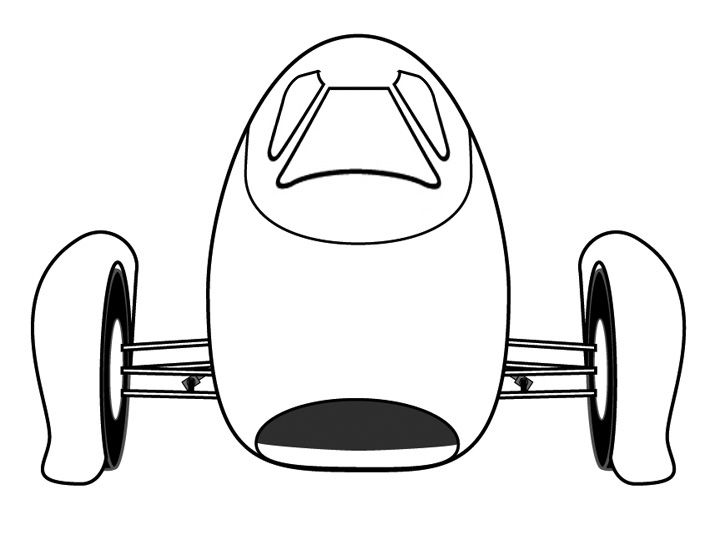
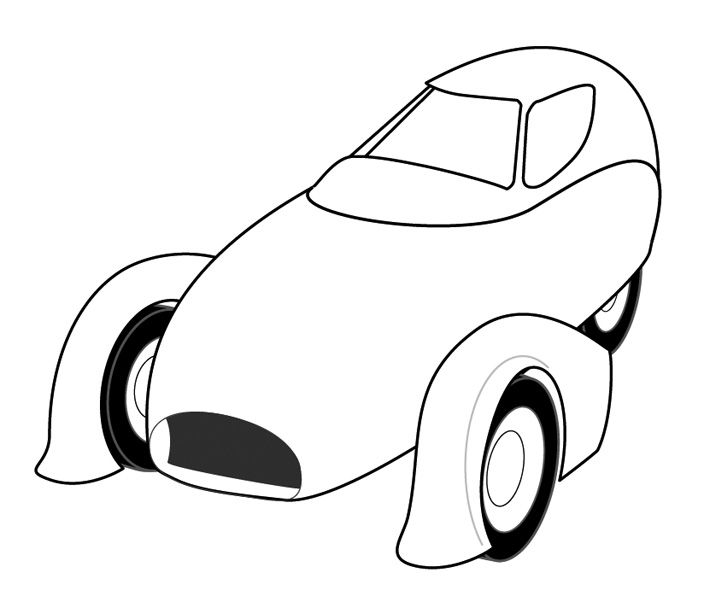
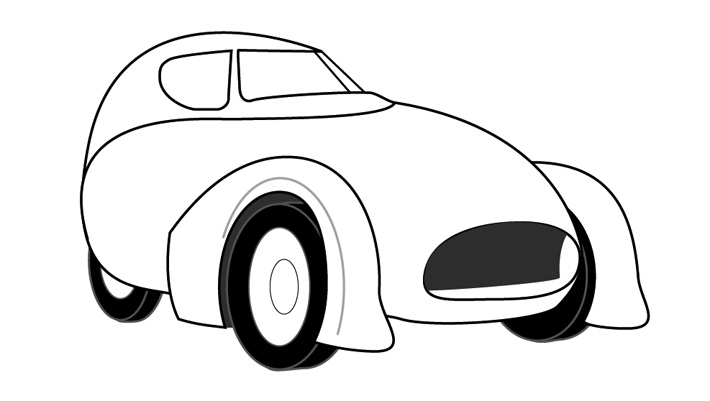
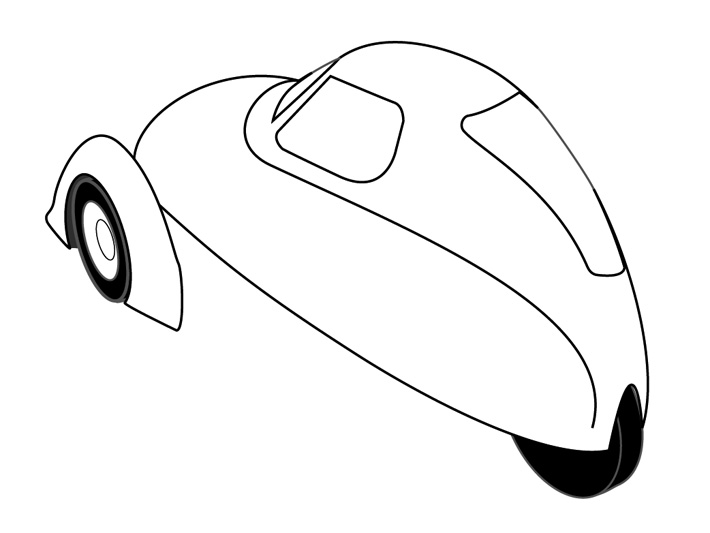
What I think is particularly interesting is just how much the forced perspective changes the visual relationship between the wheelbase and the width of the body. In the front view, you can see just how far apart the wheels are, but in the other views, they look like they’re right on the body. It’s also interesting how it looks really mean from some angles, and just a tad messerschmitt from others.
Looks great overall. You’ll have to share the “import profile views to create 3D image” process, or at least a link to where you read about it.
There really isn’t much to it. I simply exported my side and top profile renderings from Illustrator as PDFs (after scaling them up to full size). Then I imported them into SketchUp and aligned them to the correct axis. Then I created three full size wheels and placed them the correct distance either side of the centerline, imported the wheel pants and that was that. I rotated the objects in SketchUp until I got an angle I liked and then took a screen shot of that. I then brought the screen shot back into Illustrator and essentially traced over it with the pen tool, then circling back and doing all the point conversions and such it takes to get good smooth curves in Illustrator. The same method could work for a more low-tech approach by simply printing out the screen grabs and then drawing over them freehand using tracing paper or a light table.
Blender: http://www.blender.org/
It’s free and powerful. But admittedly the learning curve kind of sucks. But with the amount of time you’ve already put into renderings, you could be way farther ahead with full 3D models. I can’t tell you how awesome it is to just be able to grab a point on a smoothly curved surface and drag it around and have blender adjust the surface to compensate in real time. To be able to effortlessly spin it around in any direction just by dragging your mouse to see it from all angles.
This might be a good place to start: http://cgcookie.com/blender/get-started-with-blender/
It’s what I use – I’m yet another person with similar motivations: http://www.eternalmachinery.com/ecar/
I’d prefer tilting – I own a couple bikes. But I haven’t come up with a solution that makes me happy. And a passenger seat is a high priority for me. And passenger legs are very inconvenient.